
Ingredients
- 1 box (5.1 oz) instant vanilla pudding mix
- 2 cups cold whole milk
- 1 can (14 oz) sweetened condensed milk
- 3 cups heavy cream
- 1 box (11 oz) vanilla wafers
- 4-5 ripe but firm bananas, sliced
- 1 tsp vanilla extract
- 1/4 tsp fine salt
Instructions
- Make the pudding base. Whisk the pudding mix and cold milk 2 minutes until thickened, then whisk in the sweetened condensed milk, vanilla, and salt until smooth.
- Whip and fold. Whip the heavy cream to firm peaks and fold it into the pudding mixture until no streaks remain.
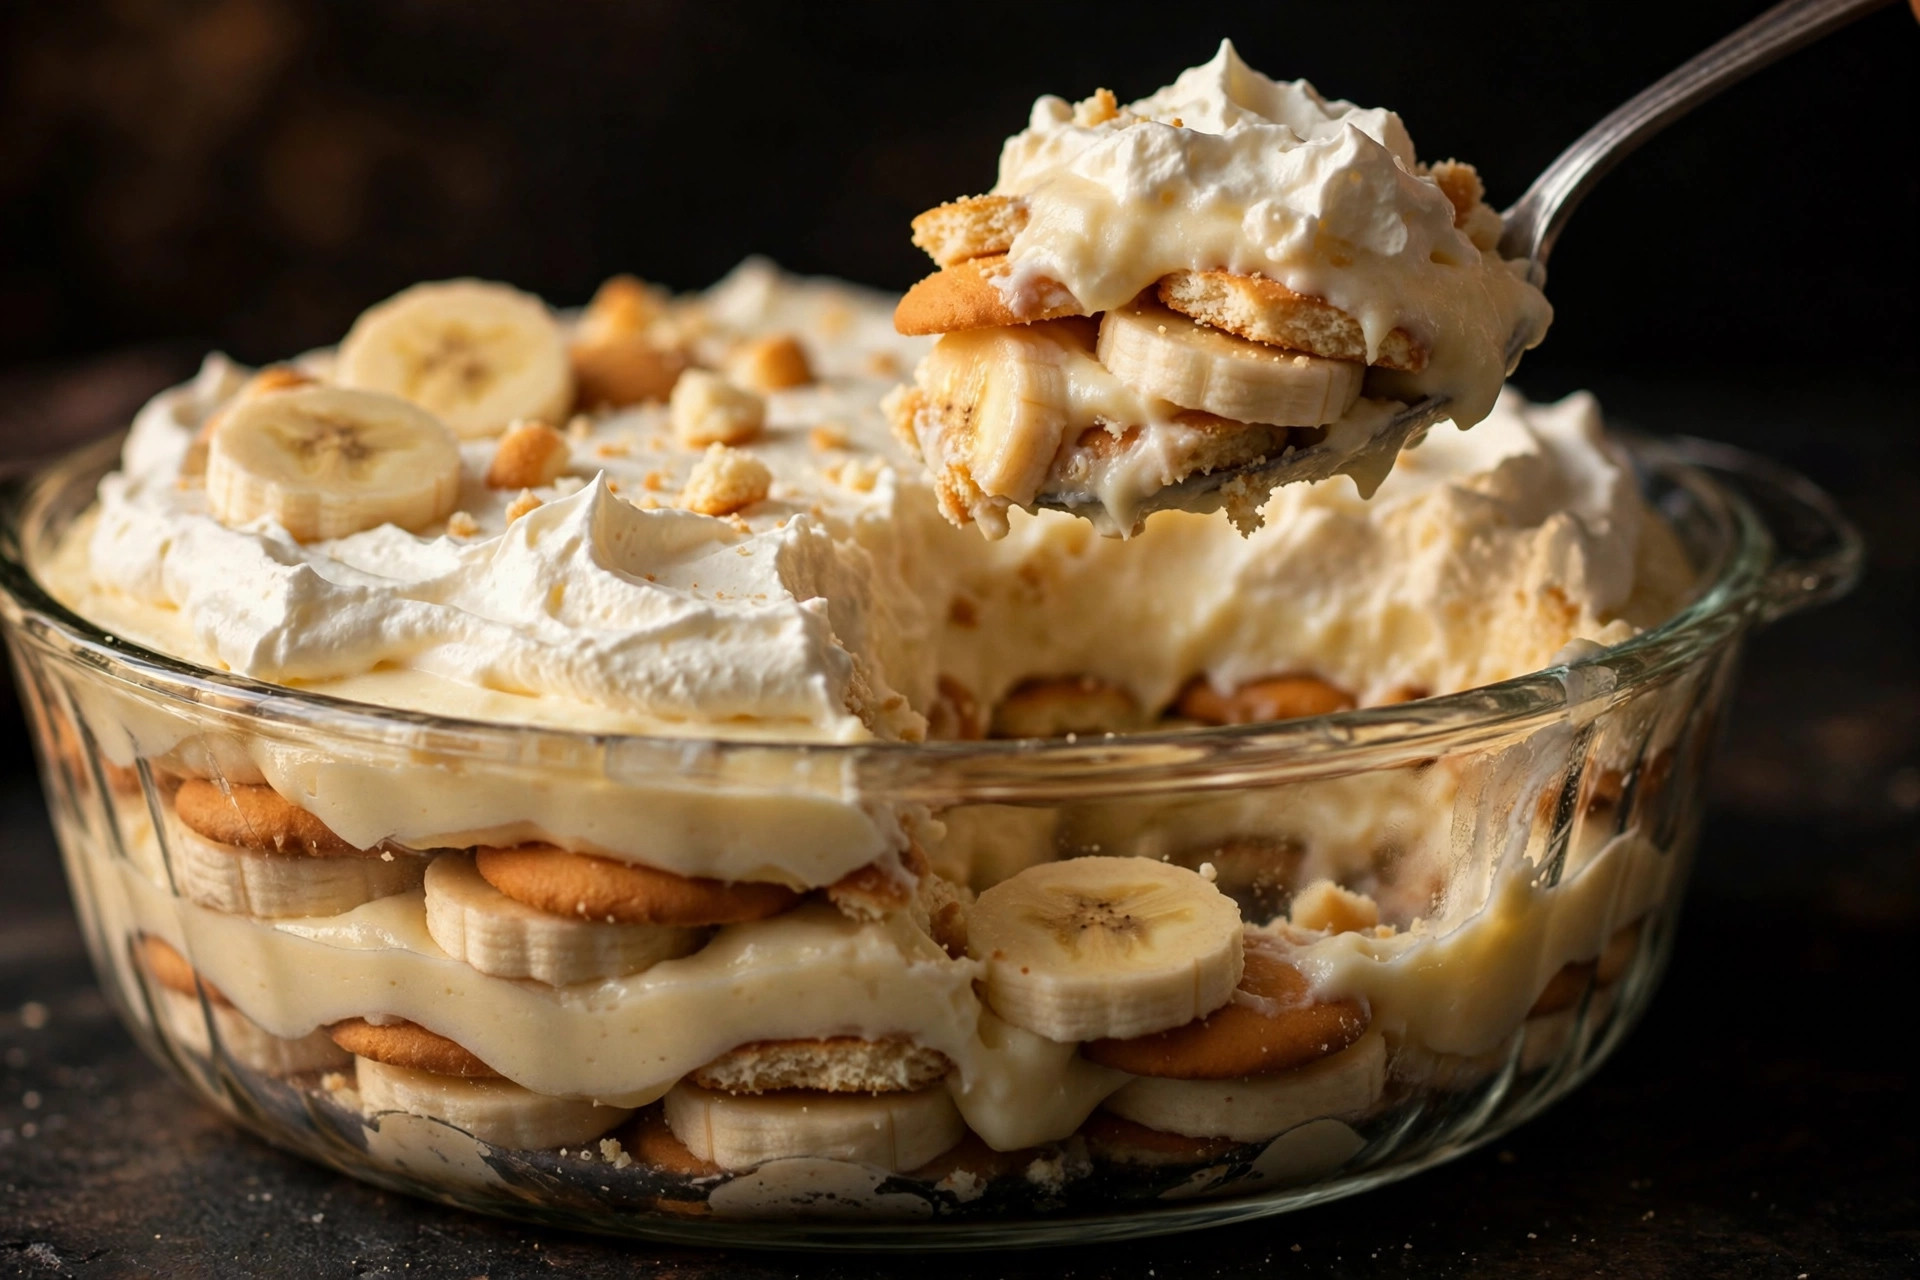
- Layer. In a large glass dish or trifle bowl, layer one-third of the wafers, one-third of the banana slices, and one-third of the pudding. Repeat twice more, ending with pudding.
- Chill. Cover and refrigerate at least 4 hours, preferably overnight, so the wafers soften into cake-like layers.
- Serve. Top with extra wafers and banana slices just before serving.
💡 Banana pudding smarts
Choose ripe but firm bananas — overripe ones turn to mush in the chill. The full 4-hour rest is the recipe; it's what transforms crisp wafers into tender, cake-like layers. Slice the bananas right before layering to slow browning, and always end with a pudding layer so no banana is exposed to air.
Common questions
How do I keep the bananas from browning?
Toss the slices in a teaspoon of lemon juice, and assemble right before the chill — the pudding layers protect them from air.
Nilla Wafers or generic vanilla wafers?
Nilla is the classic and holds up best, but any crisp vanilla wafer works.
How far ahead can I make banana pudding?
24 hours is the sweet spot — the wafers soften into cake-like layers. Beyond that the bananas get mushy.
Can I make the pudding from scratch?
You can, but instant is the traditional choice here — it's what gives that nostalgic, silky texture.
Love this recipe?
Save it to your "Fall Baking Recipes" board so it's always one click away when the craving hits.
📌 Pin it for later